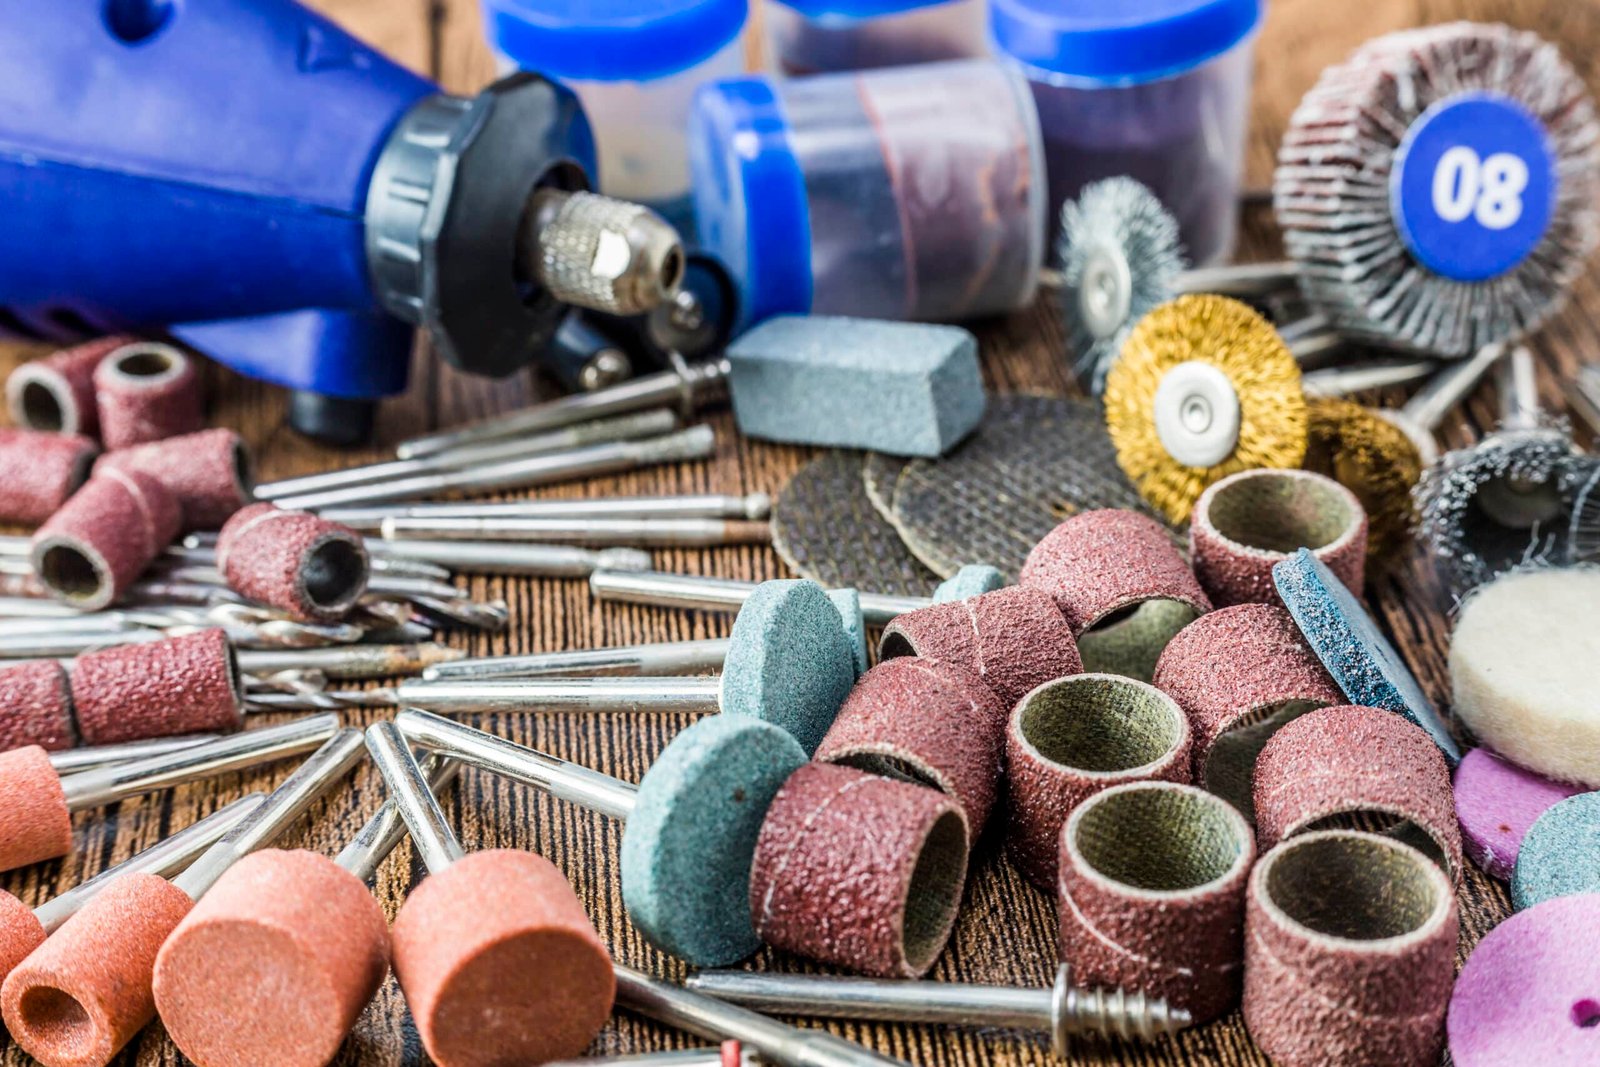

In the realm of DIY projects and craftsmanship, a tool as simple as sandpaper can make all the difference between an amateur job and a professional-grade finish. Whether you’re a seasoned woodworker, an eager hobbyist, or a curious beginner, understanding the ins and outs of sandpaper is crucial. This humble abrasive sheet has the power to transform rough surfaces into smooth finishes, create distressed effects, and prepare materials for paint or varnish. However, the key to harnessing the power of sandpaper lies in a crucial aspect: the grit classification.
The grit of the sandpaper you choose determines its abrasiveness, and therefore, its function in your project. With a myriad of sandpaper types available in the market, deciphering the grit classification can seem daunting. However, it needn’t be. This blog post will serve as your comprehensive guide to understanding sandpaper grit classification.
From unraveling the basics of sandpaper and delving into the concept of ‘grit’, to exploring different ranges of grit and learning how to select the right grit for your project, we’ve got it all covered. By the end of this guide, you’ll have a thorough understanding of sandpaper grit classification, empowering you to make informed choices for your next project. So, let’s dive in and smooth out those rough edges!
Understanding Sandpaper Basics
Before we delve into grit classification, let’s establish a solid foundation by understanding what sandpaper is and how it’s made.
A. Brief History of Sandpaper
Sandpaper, despite its name, does not contain sand. It has its roots in ancient China, where crushed shells, seeds, and sand were used to smooth surfaces. With time, technological advancements led to the development of modern sandpaper, which comprises a backing material coated with abrasive particles.
B. Description of How Sandpaper is Made
Modern sandpaper is a product of high-tech manufacturing. It consists of a backing material, typically paper or cloth, which is coated with an adhesive and sprinkled with abrasive grains. These grains, or grit, can be made from a variety of materials, including aluminum oxide, silicon carbide, garnet, emery, and even diamond.
C. Overview of Different Types of Sandpaper
There are various types of sandpaper, each with their distinct characteristics, making them suitable for specific applications. The most common types are:
- Aluminum Oxide: Known for its durability, it’s used on wood, metal, and plastic.
- Silicon Carbide: Often used for finishing and polishing, its application extends to both dry and wet sanding.
- Garnet: As a natural abrasive, it’s generally less durable than synthetic ones, but it’s excellent for final finishing wood.
Now that we’ve covered the basics let’s delve into the heart of our discussion – grit.
What is Sandpaper Grit?
Understanding sandpaper begins with understanding grit.

A. Definition of Grit in The Context of Sandpaper
In the world of sandpaper, the term ‘grit’ refers to the size of the abrasive particles that are attached to the paper. These particles act like a grid of tiny cutting tools that scrape off the surface layer of your material when you sand. The size of these particles determines the amount of material they can remove at a time and the smoothness of the resulting surface.
B. Explanation of the Relationship Between Grit Size and Finish Quality
The smaller the grit size, the larger the abrasive particles, and the rougher the finish. Conversely, the larger the grit size, the smaller the abrasive particles, and the smoother the finish. This may seem counter-intuitive, but the grit number actually refers to the number of abrasive particles per inch. So, a higher grit number means more, smaller particles per inch, resulting in a finer, smoother finish.
C. Discussion of the Grit Number System
The grit number system, also known as the ‘CAMI’ system in the United States, classifies sandpaper into several categories, including coarse (40-60 grit), medium (80-120 grit), fine (150-180 grit), very fine (220-240 grit), ultra-fine (320-600 grit), and super ultra-fine (over 600 grit). This system provides a quick and easy reference for understanding the relative coarseness or fineness of sandpaper.
Different Ranges of Grit
Understanding the grit ranges will help you choose the right sandpaper for your projects.
A. Description of Coarse Grit Sandpaper (40-60 grit)
Coarse grit sandpaper has larger, more aggressive abrasive particles. It’s great for quick removal of material, like smoothing out rough lumber or removing paint or varnish. However, coarse grits can leave noticeable scratches and are not recommended for final finishing.
B. Description of Medium Grit Sandpaper (80-120 grit)
Medium grit sandpaper is ideal for moderate material removal and initial smoothing of rough surfaces. It’s a good choice for sanding bare wood in preparation for finishing, or for removing old finish. It can also be used to smooth a previously applied finish.
C. Description of Fine Grit Sandpaper (150-180 grit)
Fine grit sandpaper is generally used for final surface smoothing before applying a finish. It provides a finer finish than medium or coarse grits, making it suitable for light removal and smoothing of a pre-existing finish.
D. Description of Very Fine Grit Sandpaper (220-240 grit)
Very fine grit sandpaper is often used between coats of paint or finish to ensure a smooth, professional end result. It’s also excellent for final-stage sanding as you prepare your project for finishing touches.
E. Description of Ultra-Fine Grit Sandpaper (320-600 grit)
Ultra-fine grit sandpaper is not typically used for shaping or removing material but is instead used for final polishing and creating a mirror-like finish on wood, metal, and other materials.
F. Description of Super Ultra-Fine Grit Sandpaper (over 600 grit)
Super ultra-fine grit sandpaper is used for extremely delicate polishing and finishing work, often in specialized applications like car finishing or delicate restoration work. This type of sandpaper is generally used wet to prevent clogging and prolong its life.
How to Choose the Right Grit for Your Project
The grit you choose can make a significant difference in the outcome of your project. Here’s how to select the right one:
A. Factors to Consider When Choosing Grit Size
Several factors should guide your choice of sandpaper grit:
- Material: Different materials respond better to different grit sizes. Harder materials might require a coarser grit for shaping, while softer materials might need a finer grit to avoid damage.
- Stage of the project: Initial stages of a project often require coarser grits for shaping and material removal, while finishing stages need finer grits for smoothing and polishing.
- Desired finish: If you want a highly polished finish, you’ll likely need to work your way up through the grit sizes. If a rustic, textured finish is more your style, a medium to coarse grit might suffice.
B. Suggestions for Which Grit Sizes to Use for Common Tasks or Projects
Here are some general suggestions:
- Rough shaping and removal of material (40-60 grit): Great for tasks like removing old paint or varnish, or smoothing rough-sawn lumber.
- Moderate smoothing (80-120 grit): Ideal for initial smoothing of rough surfaces or removing smaller imperfections.
- Final smoothing before finishing (150-180 grit): Useful for final preparations before applying paint, varnish, or other finishes.
- Smoothing between finish coats (220-240 grit): Helps ensure a smooth, professional end result when applying multiple coats of finish.
- Polishing and creating a mirror-like finish (320-600 grit and above): For when you need a highly polished, shiny finish.
Tips and Tricks for Using Different Grit Sizes
Knowing how to properly use each grit size can help you get the most out of your sanding work.

A. Best Practices for Using Coarse, Medium, and Fine Grit Sandpaper
- Coarse grit (40-60 grit): Start with coarse-grit sandpaper for rapid material removal. Be cautious not to remove more material than necessary. Always sand with the grain, not against it, to prevent scratches.
- Medium grit (80-120 grit): Switch to medium-grit sandpaper once you’ve removed major imperfections. This will smooth the rough scratches left by the coarse grit.
- Fine grit (150-180 grit): As you approach the final finish, move to fine-grit sandpaper. It’s perfect for getting a nice smooth finish ready for painting, staining, or varnishing.
B. Safety Precautions When Using Sandpaper
Regardless of the grit size you’re using, safety should always come first. Always wear protective gear, including safety glasses and a dust mask, especially when sanding materials that can produce harmful dust. Additionally, be careful not to apply too much pressure while sanding, as it could cause unnecessary damage to the surface or even cause injury.
Mistakes to Avoid When Choosing and Using Sandpaper Grits
No matter how much experience you have, everyone can make mistakes. Here are some to avoid:
A. Common Pitfalls in the Selection and Use of Sandpaper
- Skipping grit sizes: For a smooth finish, you should progress gradually from lower to higher grit sizes. Skipping grit sizes could leave deep scratches that higher grit can’t remove.
- Not changing sandpaper often enough: Sandpaper wears out. Using worn-out sandpaper can result in a poor finish and more work. Change your sandpaper regularly to maintain its effectiveness.
- Using the wrong grit for the task: As mentioned earlier, using the wrong grit can lead to damage or extra work. Always consider the material and the stage of your project when choosing the grit.
B. How to Avoid These Mistakes
- Plan your project: Before starting, decide what grit sizes you’ll need at each stage and ensure you have enough of each.
- Check your sandpaper regularly: If sanding seems to be getting harder, it might be time to change your sandpaper.
- Keep learning: The more you learn about the properties of different materials and the effects of different grit sizes, the better your project outcomes will be.
Case Study: Practical Application of Sandpaper Grits
To solidify our understanding, let’s look at a real-world project: refinishing a wooden table.
A. Brief Introduction to the Real-World Project
The project involves restoring an old, worn-out wooden table. Our goal is to remove the old finish, smooth out imperfections, and apply a new finish to give it a new lease on life.
B. Detailed Explanation of the Grits Used and Why They Were Chosen
- Coarse grit (40-60 grit): We began with a coarse 40-grit sandpaper to remove the old varnish. This allowed us to strip away the old finish quickly without excessive effort.
- Medium grit (80-120 grit): After the old varnish was removed, we switched to a 100-grit sandpaper. This helped to smooth the surface further and remove the scratches left by the coarse grit.
- Fine grit (150-180 grit): As we got closer to the desired smoothness, we used 180-grit sandpaper. It smoothed out minor imperfections and prepared the wood for the final finish.
- Very fine grit (220-240 grit): Before applying the finish, we gave the table a final sand with 220-grit paper. This created a smooth, professional surface that was ready for finishing.
C. Discussion of the Results and Learnings from the Project
The result was a beautifully restored table with a smooth, professional finish. The key learnings from this project were the importance of gradually progressing through the grit sizes, changing sandpaper regularly, and choosing the appropriate grit for each stage of the project.
Final Thoughts
Understanding the grit classification of sandpaper is an invaluable skill in the world of DIY and craftsmanship. By selecting the right grit for your project and using it correctly, you can achieve a professional-quality finish that reflects the effort and dedication you put into your work. Remember to start with a lower grit for material removal and work your way up to higher grits for a smooth finish.
We hope this guide has helped to demystify sandpaper grit classification and has equipped you with the knowledge to choose and use sandpaper grits effectively. With practice, you’ll soon be a pro at picking the perfect grit for every project.
Have any questions or experiences to share about sandpaper grits? Or do you want to learn about other tools and techniques? Let us know in the comments below!
You may be also interested in our blog “What Grit is Ultra-fine Sandpaper?” And don’t forget to subscribe to our blog for more insightful guides and tips!